A Cerused Oak Failure, Or Was It?
I picked up this dresser on Facebook Marketplace, Every inch was solid oak. I decided to create a ceruse oak finish look, but it did not turn out quite like I anticipated.
Materials and Tools Used in this Project
Krud Kutter
SurfPrep 3”x4” Electric Ray Sander
Dewalt Orbital Sander
Dremel
Citristrip Stripper
Wire Brush
Graco TrueCoat 360 Variable Speed Sprayer
Fusion Mineral Paint - Champlain
Preparation
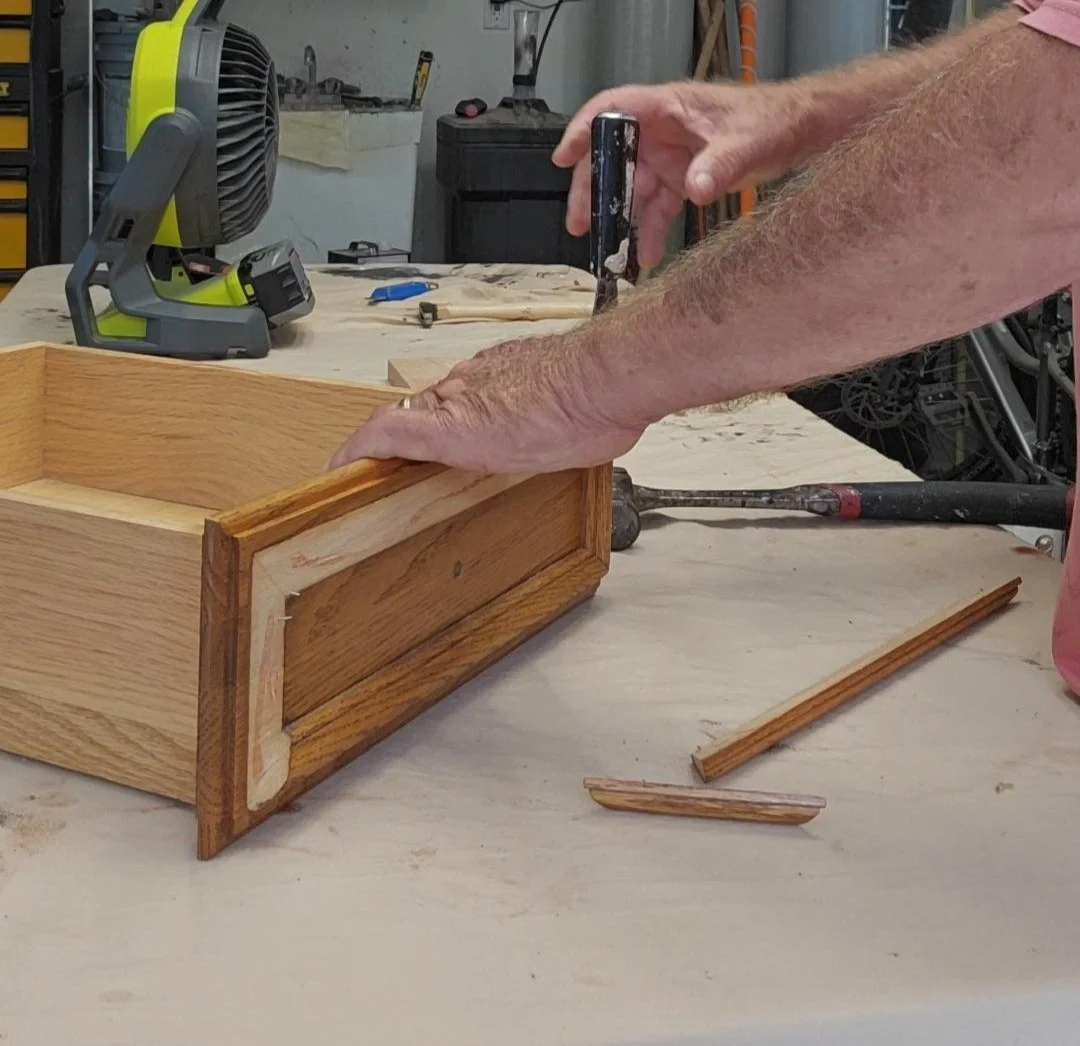
Every furniture makeover or renovation starts with removing any hardware and cleaning. I use a product called Krud Kutter to remove all of the dirt and grime that has accumulated over the years. For this particular project, I am also going to remove some decorative trim from the top three drawers. Of course, the nails stayed behind so I had to pull those out. After the trim is removed I will clean the entire dresser.
Sand, Sand and More Sand
I want to remove all of the finish down to the bare wood. I used my orbital sander to remove the majority of the finish, starting with 80 grit and working my way up to 220 grit. I also used a Dremel with a sanding attachment. I used this to get the finish off of the curved edge of the drawers. I ran it on low speed so I would not dig into the wood. While I still had to hand sand the edges, the Dremel got off most of the finish which made the job much easier.
Toxic Chemicals
I really try to avoid strippers as much as possible. I just don’t like the mess, but I did use it on the base of this dresser due to it’s curved nature. The base came off easily which made it easy to work with it using the stripper.
After I applied the stripper and it did it’s magic, I used a wire brush to get the finish off and then sanded it down with my SurfPrep sander using a 180-220 sanding pad.
Now to get the ceruse look I have to use a wire brush to try and raise the grain and sort of dig out the soft part of the grain. I had to do this on the entire dresser. This was a lot of work, but I think (hope) I toned some arm muscles in the process!
Once I had brushed the entire dresser and all of the drawers, it was time for the paint wash. I had some left over Fusion Mineral paint in the color of Champlain and I mixed this in a 4 to 1 ratio; four parts water to one part paint. Once I applied the wash I wiped it down with a lint free cloth to remove the excess and create the ceruse look I was in search for.
After the paint wash was dry, I lightly sanded using 220 sanding pad with my SurfPrep sander on low speed. I just wanted to make sure the entire surface was smooth before adding topcoat. You may have guessed by now by looking at the picture, I did not achieve the ceruse look I was searching for, but instead got a beautiful white washed dresser. Although I did not get the actual look I wanted, I was very satisfied with the final result. Three coats of matte polyurethane were applied and the makeover was complete.
Final Reveal
Even though I did not achieve the ceruse look I was looking for, I was able to achieve a beautiful white paint washed oak dresser and a beautiful makeover. Every project can turn out great, just adapt and see it through to the end.


