Breathing New Life into an American of Martinsville Dresser
In this blog post, I am going to explain how I breathed new life into this American of Martinsville Dresser.

American of Martinsville Dresser before the makeover
Materials and Tools Used in this Project
Krud Kutter Cleaner and Degreaser
SurfPrep 3”x4” Electric Ray Sander
Bondo Wood Filler
Wagner Flexio 3500 Sprayer
Wagner
Sherwin-Williams Extreme Bond Primer
Zinsser Bulls Eye Gray Primer
Sherwin-Williams Urethane Trim Enamel - Tricorn Black, Satin
Sherwin-Williams Acrylic Latex - Universal Khaki (tan wash)
General Finishes Java Gel Stain
Minwax Polycrylic Mattte
Vevor Spray Tent
Preparation
We first begin by thoroughly examining the dresser for any structural issues, such as loose joints, cracks, or missing hardware. Identifying and addressing these problems early ensures the piece is sturdy and safe for use, providing a solid foundation for the makeover. Inspect all joints and corners for stability. Tighten or re-glue any loose parts.
Starting with the Drawers
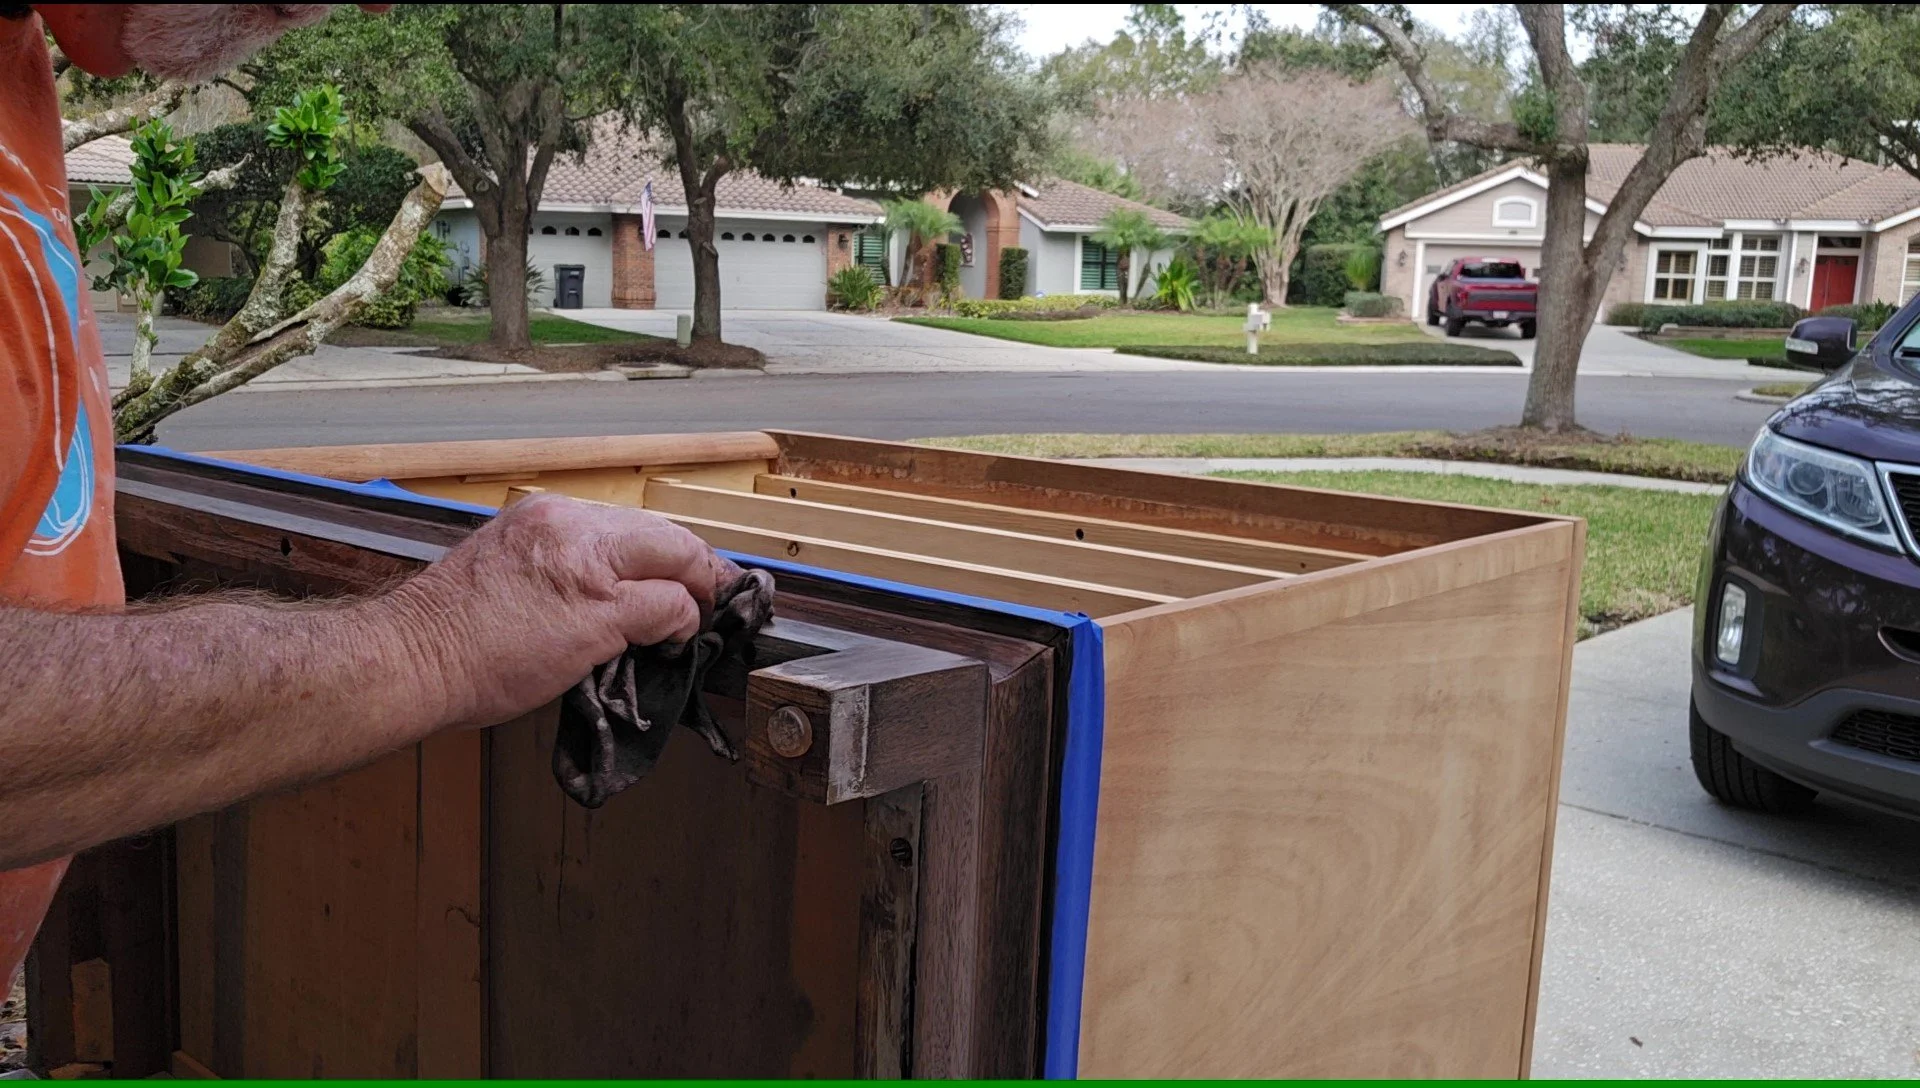
I am going to start the makeover with the drawers first. First I need to remove the hardware, which I intend to replace with more modern knobs. I really struggled with this stubborn hardware. Whoever last screwed the hardware in put a real gorilla grip on them. Power tools were not working so I eventually removed them all manually. The drawers had old, outdated liners in them that I removed using a Wagner heat gun to soften the adhesive. Finally I cleaned each drawer thoroughly with Krud Kutter to get all of the years of dirt and grime off of them.
After the drawers were cleaned, I filled the hardware holes and damaged areas with Bondo, then sanded the drawers first with 120, then finer grits sandpaper (180-220) using my Surfprep to prepare for painting.


Failed Attempt
The drawers had a veneer on the drawer fronts, and although trying to be careful, I went through it on a couple of the edges. I knew better, but I attempted a tan paint wash anyway on the drawer fronts. In my heart I knew it wasn’t going to work and it didn’t. Even after a couple of coats, it didn’t cover the burn through or the patched hardware holes. So onto painting a solid color.
Onward to the Dresser Cabinet
So what color should I use? I wanted to select a color that reflects contemporary design trends. I eventually settled on painting the base of the dresser using General Finishes Java gel stain and the rest of the dresser in Sherwin-Williams Tricorn Black. Of course before doing that, I needed to clean it with Krud Kutter, then sand it down with 120 grit sandpaper. After that, I repaired any imperfections on the dresser with wood filler and then sanded it down with 180 and 220 grit sandpaper to ensure a smooth surface to start with.
For the base of the dresser, I did start with a tan wash to act as a good base coat for the java gel stain I was going to apply afterward. I wanted a bit of a contrast between the base and the rest of the dresser. Although it turned out OK, in hindsight I wished I had used a lighter color gel stain.

Painting the Drawers
While the gel stain is drying, on the dresser, I sprayed the drawers with two coats of Zinsser Bulls Eye Gray Primer that I had left over from some other project. I sanded between each coat with a used Surfprep sanding pad, 180-220. I usually paint with the drawers in, but the way the dresser was made, I decided to paint with the drawers out.
After the primer was dry, I sprayed three coats of Sherwin-Williams Tricorn black, sanding between each coat.

Priming the drawers
Onward to the Dresser
I masked off the inside of the dresser to prevent any paint from getting inside. The masking job was not pretty but it worked. I then sprayed two coats of Sherwin-Williams Extreme Bond Primer tinted gray. I then sprayed three coats of Sherwin-Williams Tricorn Black. I sanded between all coats of both primer and base coat with a used Surfprep 180-220 sanding pad. I did have to thin the black paint and I may have thinned it too much which is why it needed three coats.
After the paint was dry, I sprayed both the dresser and the drawers with three coats of Minwax Polycrylic in a matte finish, and again, sanding between coats to ensure a final smooth finish.


Drawer Liners and New Hardware
There were copper clips that went around the legs of the dresser and when they were cleaned up, they were beautiful. So I decided to get matching copper pulls for the dresser drawers. I also added new drawer liners.
And…
The final makeover turned out great. Like I said before, I wished I had used a lighter color gel stain on the base to give a bit more contrast, but overall I think it turned out OK. So now we just need to find a new home for this beautiful dresser.


