Chest Makeover
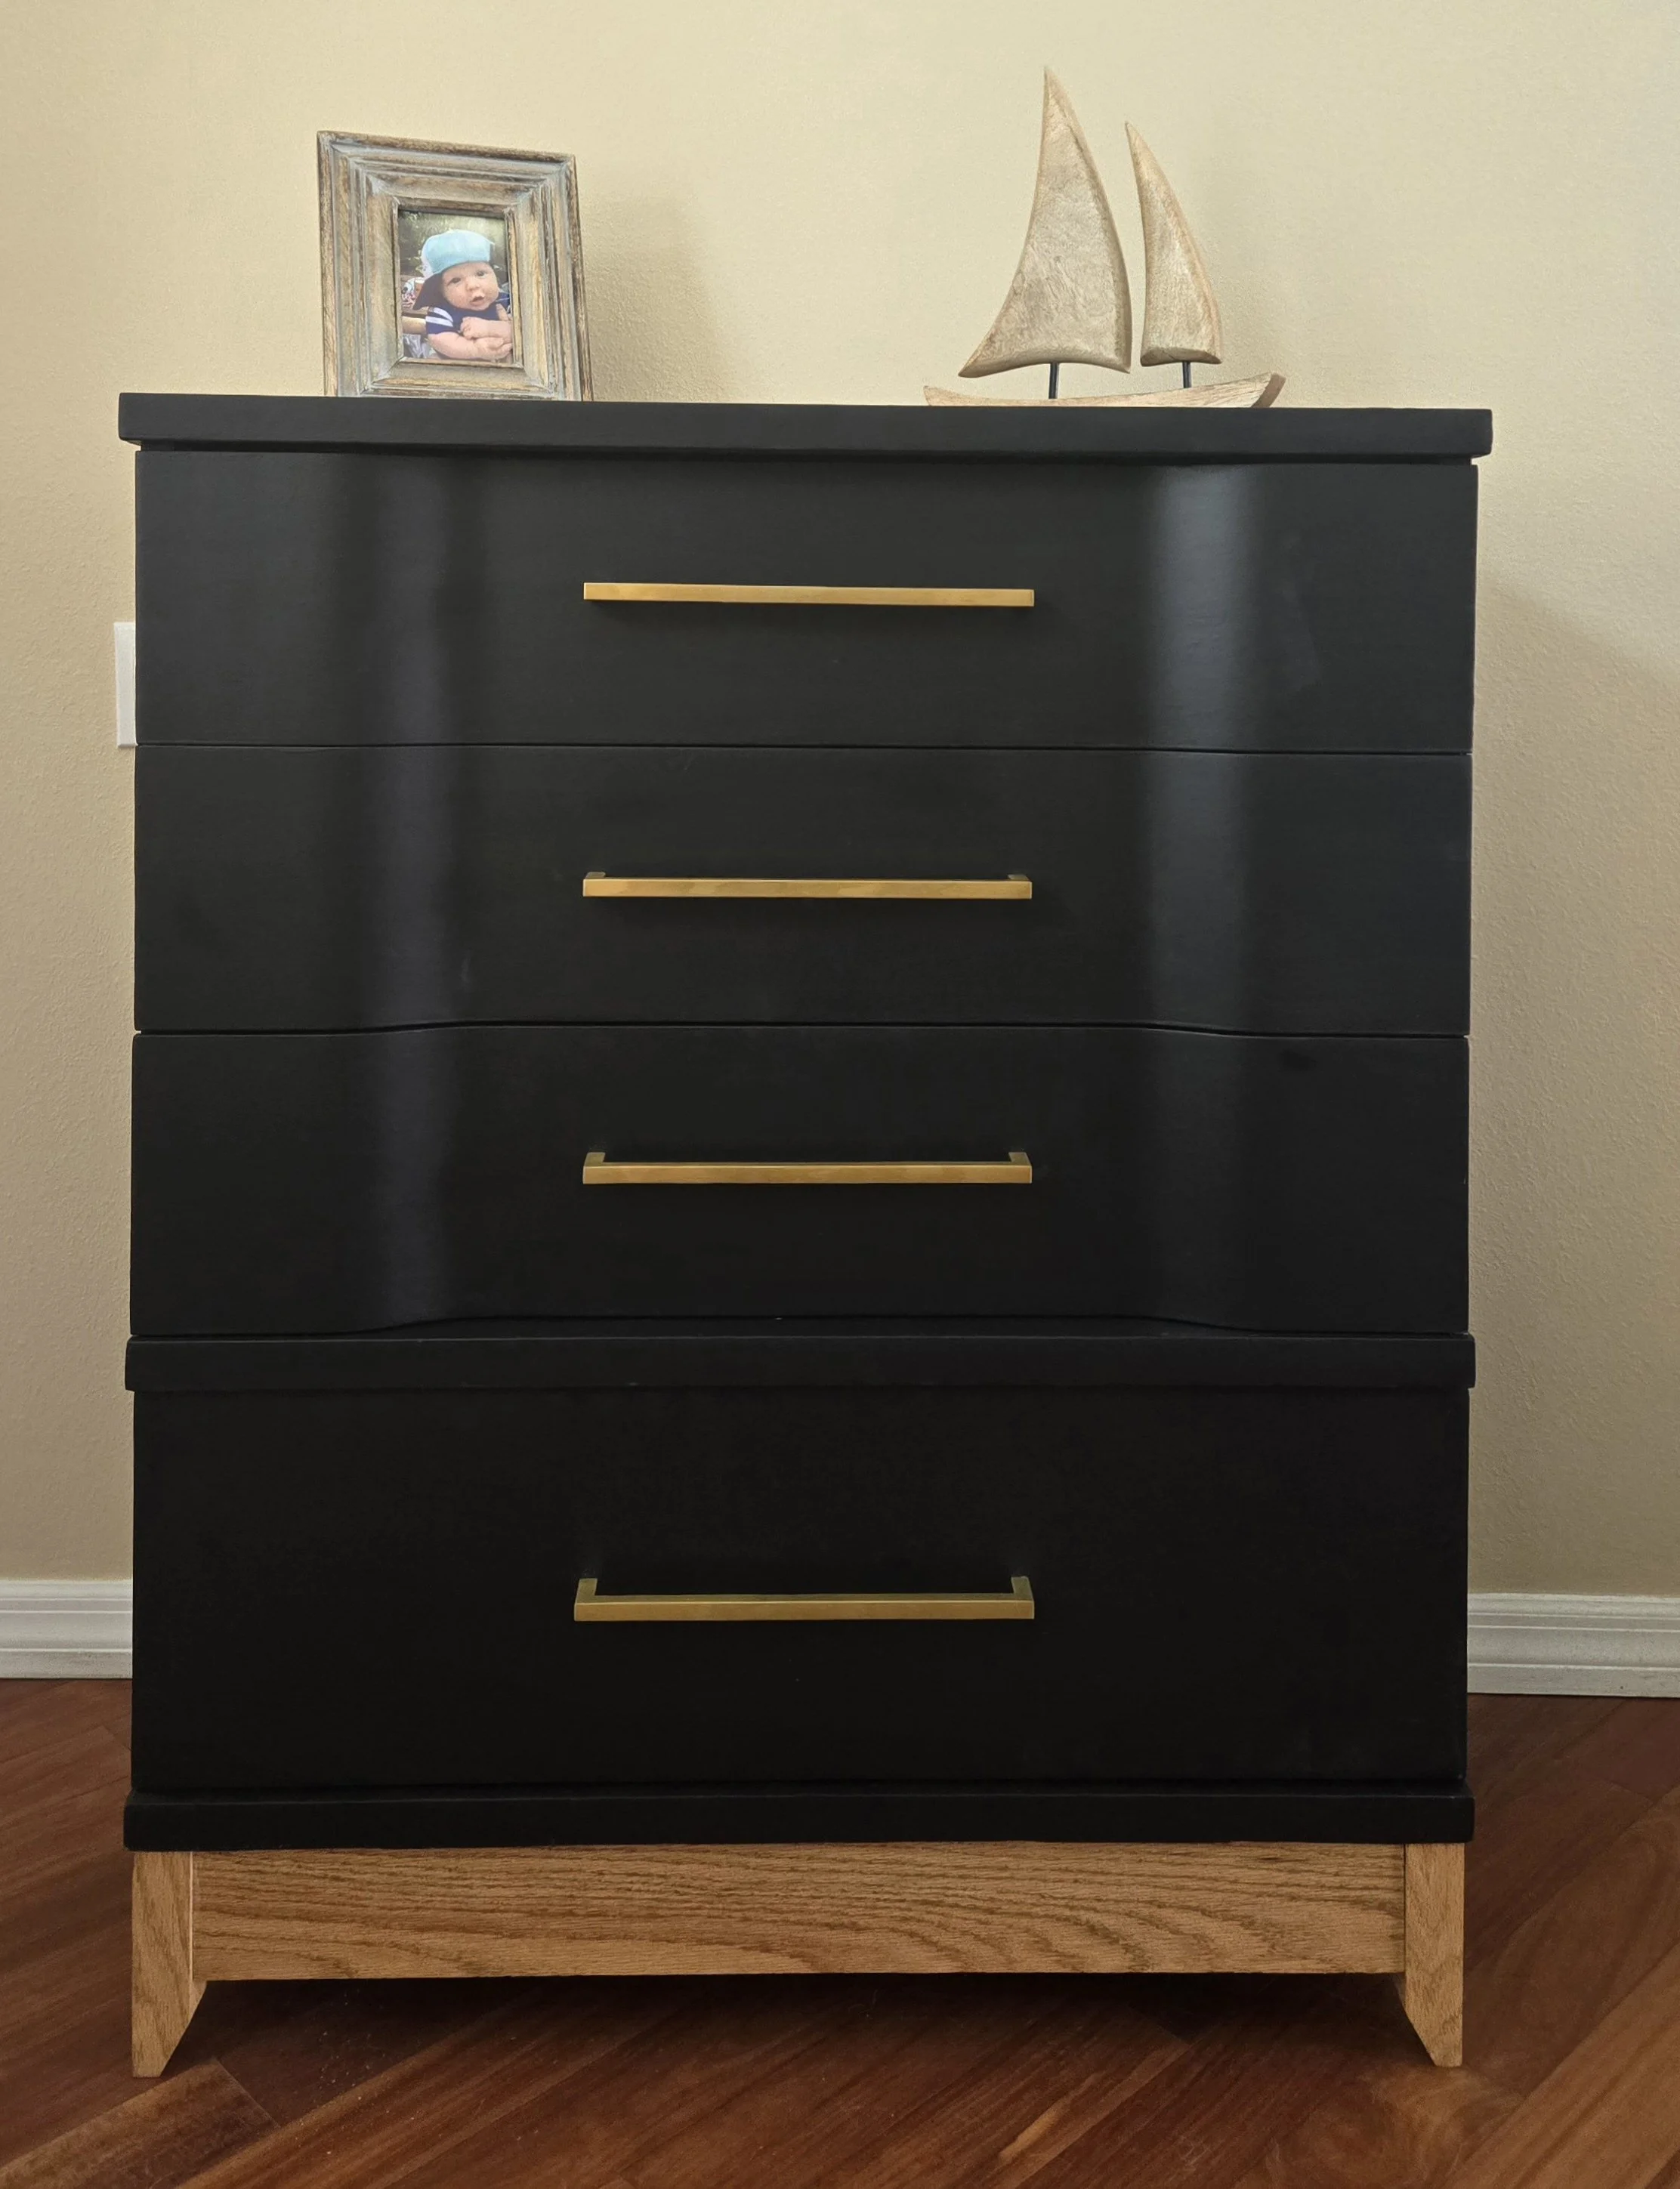
I picked up this small chest and did a complete makeover and to modernize it.
Materials and Tools Used for this Project
Krud Kutter
Bondo Wood Filler
Dap Wood Filler
SurfPrep 3”x4” Electric Ray Sander
Riobi Hand Planner
Riobi Drill
Graco TrueCoat 360 Variable Speed Sprayer
Kreg 720 Pocket Hole Jig
Kreg Multi-Mark Tool
King and Charles Cabinet Hardware Jig
Hula Home Mist Bottle
Red Oak
Sherwin-Williams Extreme Bond Primer
Sherwin-Williams Urethane Trim Enamel Tricorn Black
Minwax Gold Oak Stain
Varathane Ultimate Polyurethane, Matte - Water Based
Dixie Bell Big Mama’s Butta
Preparation
I knew from the beginning I was going to paint this chest black, get rid of the legs, and put on a new base. But before I could do that, as always, the first step is to clean and to remove all hardware. I use Krud Kutter to clean all of my pieces.
Normally I remove all hardware first and then clean, but I cleaned this first and then removed the hardware. Because I took the hardware off last. I had to re-clean where the hardware was. Just wasn’t thinking.
I also had some places where it needed some glue where the side was separated from the bottom. So I had to fill with glue and clamp overnight.
The chest had been refinished at least once before and also had many dings that were going to have to be filled. I actually used a combination of Bondo and wood filler. I did this only because I mixed the batch of Bondo a little too hot and it started to dry on me before I was finished with my repairs. I didn’t want to mix another batch of Bondo so I simply used DAP wood filler.
After filling all of the dings and gouges and making other repairs I needed, I scuff sanded the entire piece starting with 120 grit and ended up at 220 grit. I didn’t take it down to bare wood because I intended to paint this anyway.
I put one coat of Sherwin-Williams Extreme Bond Primer on before painting with two coats of Sherwin-Williams Tricorn Black. I had some bleed through in the primer, but since I was using black as a final coat, I was not worried about it showing all the way through.
This was the first time using the VEVOR paint tent. It is a large one measuring 10x7x6. Now I can spray my furniture without getting it all over the garage! I set my Graco D360 sprayer to a 5 which seemed to work well.
I sprayed 3 coats of water based Varathane Ultimate Polyurethane in a matte finish. I must admit I had some trouble spraying the polyurethane. I could not get the sprayer setting right and I had to conted with some runs. The Graco comes with two tips, one is for spraying stains and that one is the one I should have used for the polyurethane. The next time I will. Live and learn. I was able to brush out the runs if I found them quick enough, otherwise I had to sand them out and reapply the polyurethane.
I had sprayed the chest with the drawers in, so I did have to take them out and paint the tops where the sprayer didn’t reach.
After the drawers were completely painted and top coat applied, I used a King and Charles Cabinet Hardware Jig to make the holes for the new hardware. This is very easy to use. Once I determine the middle of the drawer and where I wanted the hardware on the drawer, I just set the jig, punch a small indentation where the screws should go and drill the screw holes.
Making the New Base
For this chest I decided to remove the existing legs and build a new base. I need to give credit to the DIY Wife YouTube video explaining how she builds bases.
As she suggested, I used 1x3 Red Oak for the three sides and 2x2 Read Oak for the legs. I stained it a golden oak color by Minwax.. I wanted the front legs to have a 60 degree angle. Since my miter saw only goes to 45 degrees, I had to use a jig I made in order to cut the 60 degree angles.
The jig was made by taking a small piece of 2x6 and making two 45 degree cuts; one on the left and one on the right. For this cut I used the right hand jig and it is clamped against the fence of the saw. Now since the jig is a 45 degree cut and I want a 60 degree cut, I subtract 45 from 60 getting 15 and I set the miter saw to 15 degrees on the right. I place the 2x2 against the jig and clamp it down the best I can and when I cut the leg I get a 60 degree angle. I only angled the front two legs as the back ones do not show that much.
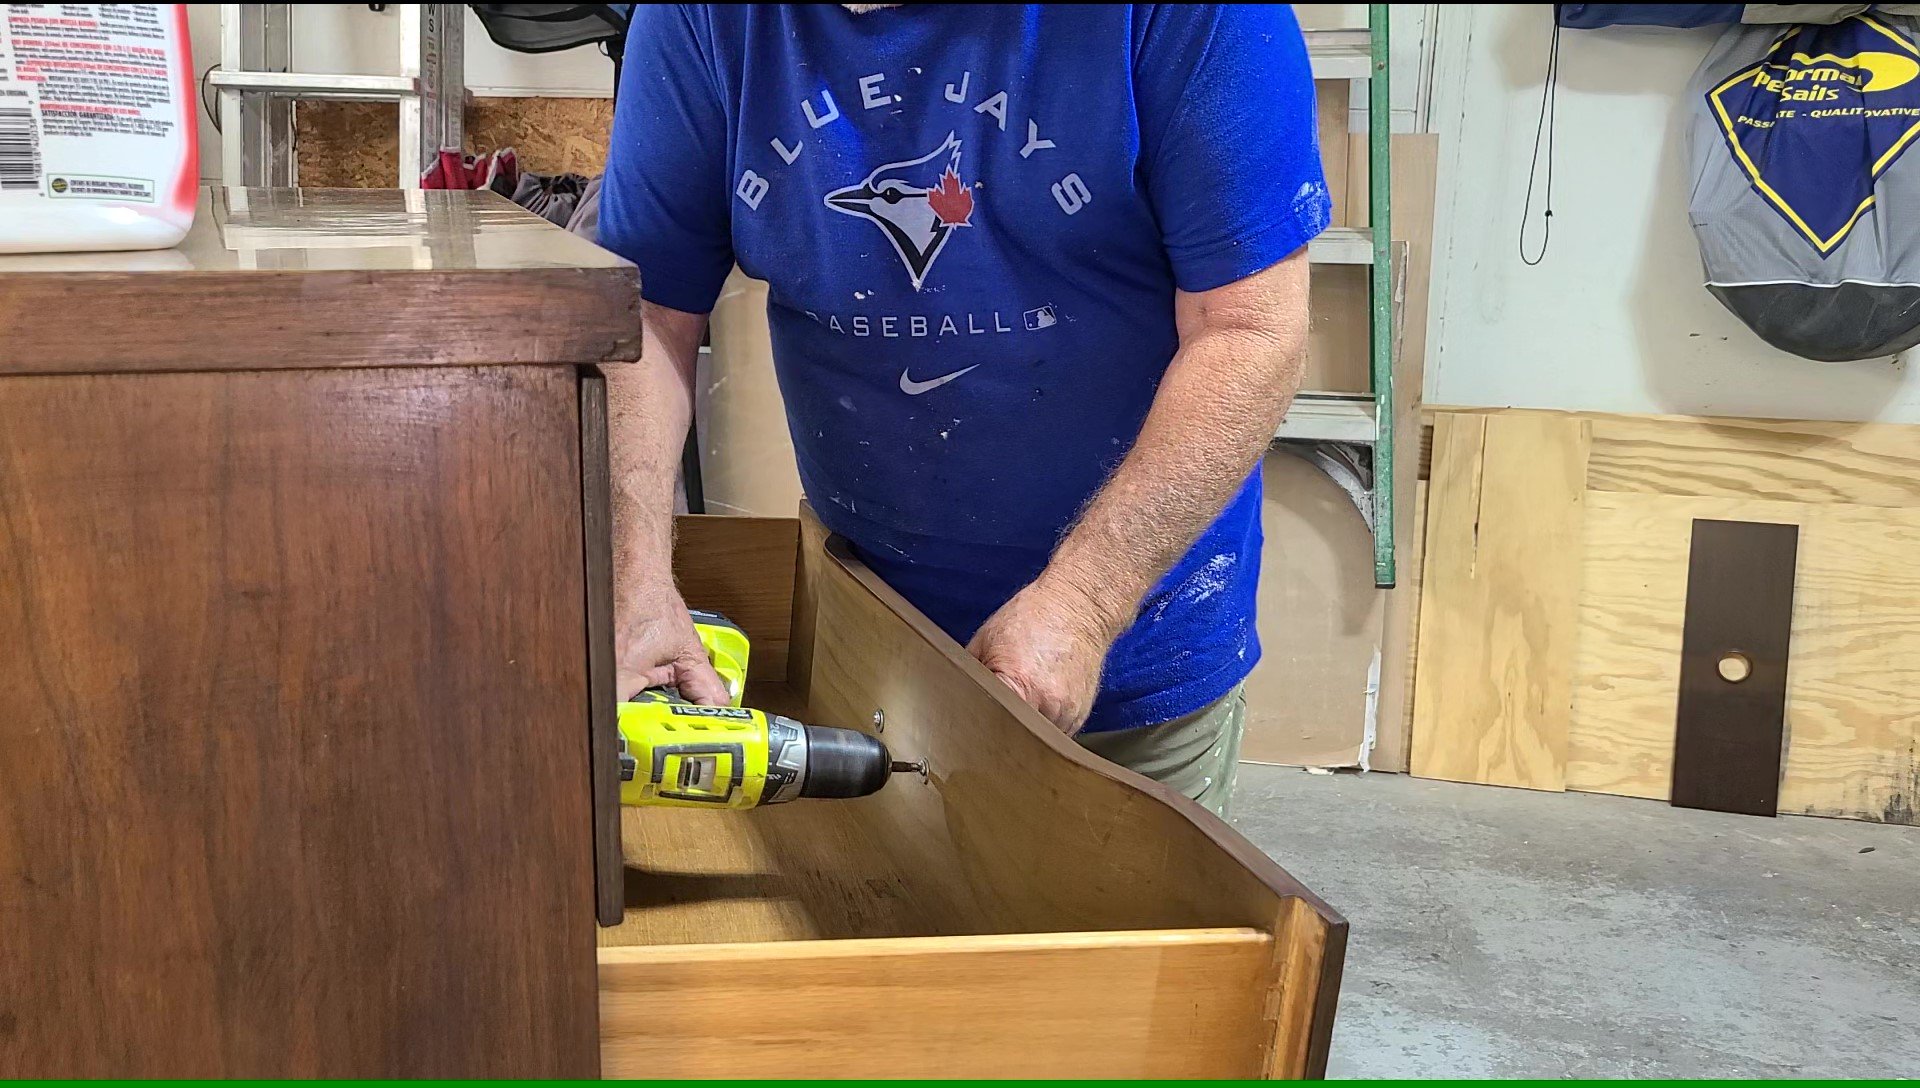
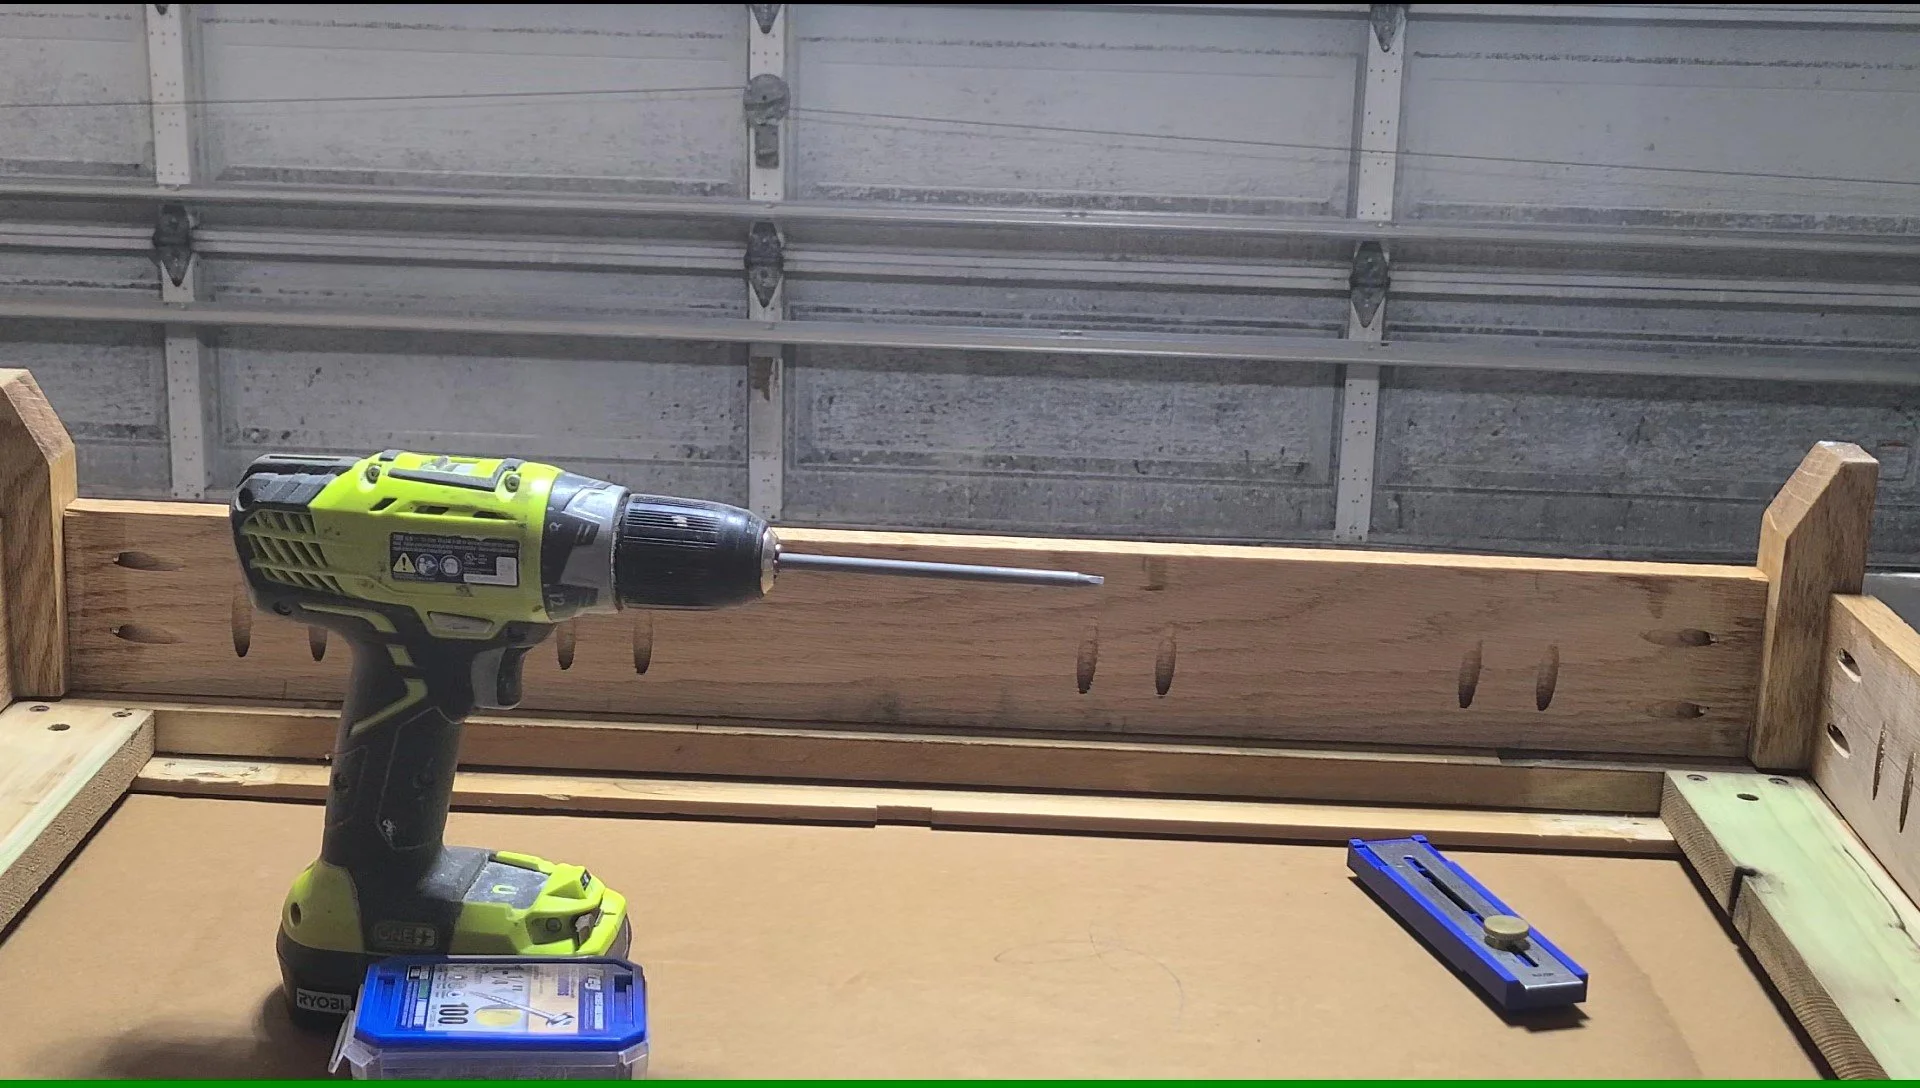
After all of the wood was cut, I drilled my pocket holes using my Kreg 720 Pocket Hole Jig and used 1 1/4 inch pocket hole screws to screw the base together. I also applied glue before I put the screws in to give it more support and strength. I then used three coats of stain. After it was all dry, I flipped the chest over on it’s top and screwed on the new base. This was the first time I made a base and I was very pleased with how it turned out.
Final Result
This chest will be perfect in a guest bedroom or a second bedroom or even a sons or daughters room. It turned out beautiful.


